skip to main |
skip to sidebar
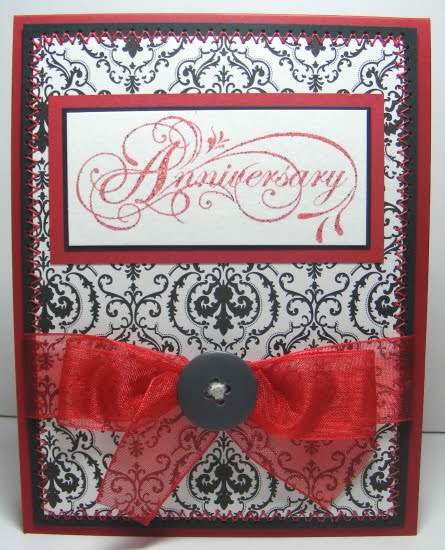
I recently need an Anniversary card, but didn't have any in my stash. So I decided to make one just to have on hand.

Supplies:
Stamp: The Angel Company More Elegant Sentiments
Patterned paper: Colorbok
Ink: Palette L'Amore Red
Other: Sparkle embossing powder, Janome sewing machine, ribbon, button
It's a very simple layout, but still has an elegant look to it.

Here you can see the sparkle and glitter of the embossing powder. Very shimmery in person.
As usual, keepin' it short and sweet. Tootles!

You know the saying "sometimes you're the windshield, sometimes you're the bug" - it's so true! And here's a card that would be great for someone going through a tough time and feels like they have nothing but bad luck!

Supplies:
Stamps: Clear Dollar Stamps Sometimes You're The Bug
Patterned paper: Colorbok
Ink: Brilliance Coffee Bean
Other: Sparkle embossing powder, Tombow markers, water brush, blossoms, buttons, Scrapper's Floss
Make it a great day, Tootles!
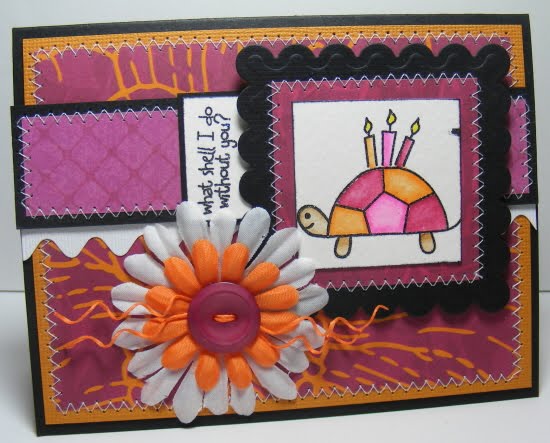
Here is yet another card I've made with the Just Shellin' stamp set by Clear Dollar Stamps. I've had so much fun coloring this cute little turtle!

Supplies:
Patterned paper: Colorbok
Ink: Brilliance Graphite Black
Other: Sparkle embossing powder, Tombow markers, water brush, Nestabilities scalloped square die, white Bazzill border strip, Janome sewing machine, Bazzill blossoms, button, Scrapper's Floss
Stay tuned for more!
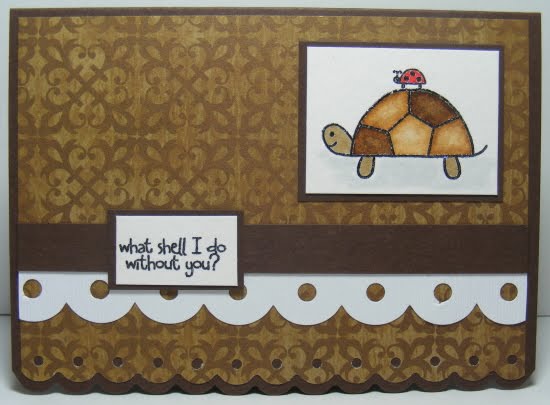
Here's another card made with the adorable Just Shellin' stamp set by Clear Dollar Stamps.

Supplies:
Patterned paper: Colorbok
Ink: Brilliance Graphite Black
Other: Sparkle embossing powder, Tombow markers, water brush, Marvy giga scalloped square punch
Keepin' it short and sweet. Thanks for stopping by, Tootles!
I finally got this little stamp set out to play with. It's called "Just Shellin'" by Clear Dollar Stamps. Here's the first card I made with it:

Supplies:
Patterned paper: Colorbok
Ink: Brilliance Graphite Black
Other: Sparkle embossing powder, Tombow markers, water brush, Fiskars border punch, white Bazzill border strip

Here's the inside. Pretty plain and simple, but coordinates nicely with the front.
I'll be back in a few days to show you another card made with this little turtle set! I haven't done a lot of crafting lately so I'm spacing my posts out a little further.
Make it a great day! Tootles!
I just found out that my most recent Christmas Planner was featured HERE on the Christmasplanner.com website today! This is SO exciting!!!
Scroll down to see more about it!
Make it a great holiday weekend and stay safe! Tootles!
Here's a project I made using a scrapbook page kit by Colorbok from Walmart. It's a Christmas planner!
I made a different Christmas Planner a couple years ago by altering a file folder. I still have that one, but I don't use it as much as I thought I would. Maybe I will use this new one:

All of the patterned paper and embellishments came with the Colorbok page kit. The sparkly solid red and green papers are also by Colorbok. The red Bracket Shape Covers and owires are both by Bind-it-all. The white clips, ribbon and envelope are from my own supplies.

This picture shows the dimension of some of the scrapbook page elements that come in this kit. They are pre-assembled and self-stick. Doesn't get much easier than that!
For the inside, I wanted to keep it simple and only include things that I personally would use. So this is what I came up with:

First, an envelope to hold store receipts. I like to keep my shopping receipts all together in case anything needs returned or exchanged after Christmas.

I covered the front and the flap with some patterned paper from the Colorbok page kit. The punchouts also came with the kit.

Next, I included a gift list. It's attached to the page by a little clip so it can be changed out each year for a new list. I created the lists in a spreadsheet on my computer.
My lists have a space for the person's name, gift(s) purchased for them, the price (I usually try to spend approximately the same amount on people), and a column to check off once it's been wrapped. I've been known to buy presents, hide them, then forget all about them. So the "wrapped" column will help me keep track hopefully! Some of my list pages have a lot more lines for each person than the one shown here on the front.

This picture shows how the lists can be removed so new ones can be added later.

And here we have the Christmas Card lists. I can write down who I've received cards from and who I've sent them too as well.

Here's the back of the planner.
Well, I hope you have enjoyed looking at my Christmas project! It's made me realize I really need to get started on some Christmas cards!
Enjoy your week, Tootles!
Here is a quick 10 minute card that I made a couple weeks ago for my 10 year old son to give at a birthday party for one of his buddies.

The image is from Kid Praises, one of my favorite stamp sets by The Angel Company.The paper is by DCWV.

This picture shows a bit of the inside too.
____________________________
As I mentioned a "toot toot", I need to toot my own horn again, lol! You know my recent series where I featured a Card Keeper and 12 coordinating cards to go with it? And the papers/cardstock I used are by Colorbok which I purchased at Walmart. Well....Kristina at Colorbok found my blog and asked my permission to feature my project on their company blog!! **OMG!** "Of course you can!" was my reply. Click HERE and see for yourself!
I have many more papers by Colorbok that I can't wait to play with, so stay tuned!
Have a great week!